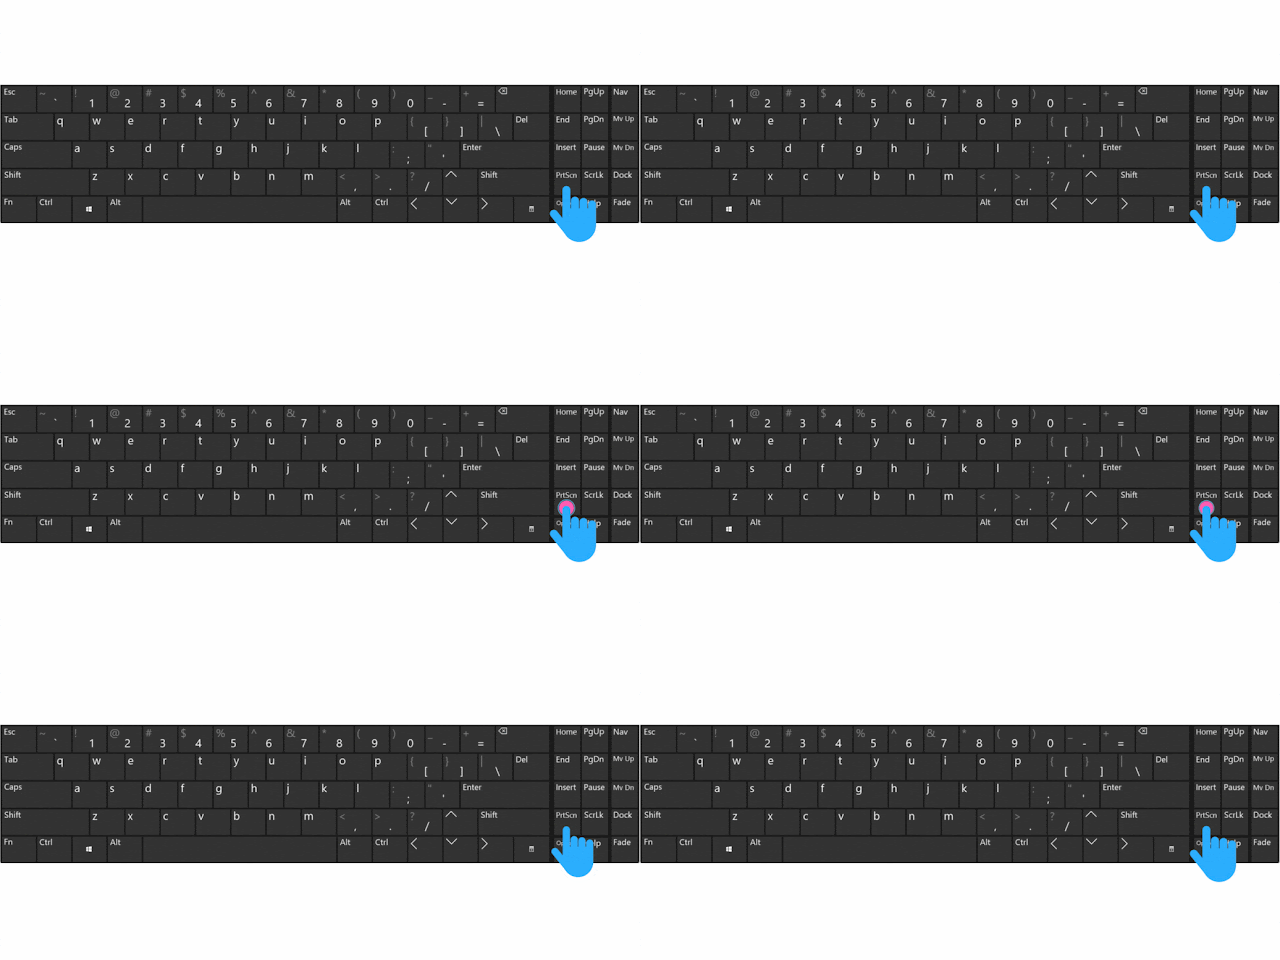
Taking screenshots has become a ubiquitous feature across all operating systems and devices. Whether you are using a mobile phone, PC, or MAC, you can quickly capture a screenshot of your screen and share it with others. In this article, we will explore how to take screenshots on various operating systems and devices.
Mobile Phones
Taking a screenshot on a mobile phone is a straightforward process that varies slightly depending on the device and operating system. Here are the steps for taking screenshots on the most popular mobile operating systems:
- Android - On most Android devices, you can take a screenshot by pressing the power and volume down buttons simultaneously for a few seconds. Alternatively, you can swipe down from the top of the screen to access the notification panel and tap the "Screenshot" button.
- iOS - To take a screenshot on an iPhone, press the power and home buttons simultaneously. On newer models without a home button, press the power and volume up buttons. The screenshot will be saved to your camera roll.
- Windows Phone - On a Windows Phone, press the power and volume up buttons simultaneously to take a screenshot. The screenshot will be saved to your photos app.
PC
Taking screenshots on a PC is a useful feature for capturing information, error messages, or for sharing information with others. Here's how to take screenshots on various versions of Windows:
- Windows 10 - Press the Windows key and Print Screen (PrtScn) buttons simultaneously. The screenshot will be saved to your Pictures folder in a subfolder called "Screenshots."
- Windows 8 and 8.1 - Press the Windows key and PrtScn buttons simultaneously. The screenshot will be saved to your Pictures folder in a subfolder called "Screenshots."
- Windows 7 - Press the PrtScn button. The screenshot will be copied to your clipboard. Open an image editor, such as Paint, and paste the screenshot to save it.
MAC
Taking screenshots on a MAC is easy and convenient. Here are the steps for taking screenshots on a MAC:
- Entire screen - Press Command (⌘), Shift, and 3 buttons simultaneously to capture the entire screen. The screenshot will be saved to your desktop.
- A portion of the screen - Press Command (⌘), Shift, and 4 buttons simultaneously. The cursor will turn into a crosshair. Click and drag to select the portion of the screen you want to capture. The screenshot will be saved to your desktop
.gif)
- Window - Press Command (⌘), Shift, and 4 buttons simultaneously. The cursor will turn into a crosshair. Press the spacebar to switch to the window capture mode. Click on the window you want to capture. The screenshot will be saved to your desktop.
In conclusion, taking screenshots on various operating systems and devices is a simple process that can be done quickly and easily. Whether you want to capture an error message, share information with others, or save a memory, taking screenshots is a useful feature that is readily available at your fingertips.


